
So this is going to be your first little challenge at the dreaded Y-seams. But it is not difficult at all if you DO AS I SAY!
Begin by cutting the simple squares: to follow this design EXACTLY .....
......You will need 4 yellows and 1 greenish square cut 3 5/8". Those are the "C"s.
You will need 4 "B"s . PLEASE Click on that layout above to read those dimensions for yourself! They are 10 1/2" long by 3 5/8" and then you trim away the 45 degree angles.
Again I stress the importance of accurate cutting. Don't think "well that's close enough!" Horseshoes and hand-grenades, people! Not sewing!
Now, observe if you will the design above shows all those lovely blue "A"s and the words read "patches". This is an irksome feature in EQ5 and it seems a little confusing to me. You SEE the square and that looks like a single unit but that diagonal line means to cut it in half so to EQ5 that makes it 2 pieces. 2 pieces= 2 "patches". I do like that the colors are readily understood.
(Notice please that the outer corner triangles are 2 different shades of blue in the opposite corners. YOU may want to make those all four the same. I know I did. Do as you prefer.)
Please cut the 4" squares as shown but DON'T cut them corner to corner just yet. (I'm going to explain why when we start to actually sew.) So, 1 light blue, 1 darkish blue (or 2 the same) , 2 medium blues and 2 green SQUARES.
Okay you've got your A, B and Cs all cut.. now let's address the "D" and "E" of it all.
I am going at this rather laboriously NOW because this one is the EASY one and I don't want to have to type all this "instruction" for every block. It would be as tedious to READ it as it would to write it. SO if in the future I ask you to pay attention at some point, that means, slow down... understand what you are about to cut and you should have no problems......

You will notice that you are cutting 2 "D"s and 2 "E"s and that the angle goes off in different directions. SO cut 4 7 1/8" x 3 5/8" rectangles and trim away IN THE APPROPRIATE directions 2 of each.
You now have all the "patches", or pieces as I prefer to call them, to complete this block.
Let's break it down to 3 separate sections. Sew your "center" column (yellow-green-yellow) (In my example it is yellow-blue-yellow)

Now lay out your "left" and "right" columns like this.

1. We'll sew the blue "D" and "E" to either side of 2 yellow squares, leaving a 1/4" seam allowance at the 45 degree edge.
 Do this for the other "column". Finger-press the seam allowance AWAY from the center.
I use this tool by Jinny Beyers to mark an accurate 1/4" Start/Stop points


2. Mark those 1'4" Start/Stop points on the back of the"B" pieces (see above) and align the points at the intersection.

Begin at one "point" and BE CAREFUL not to sew that seam allowance you pressed (above). Sew to the stop point. If you turn it over, it should look like this!

If it DOES, do the other "column". If it doesn't, go back and read the instructions again to see what went wrong. Do it until it is correct.
NOTICE: I am sewing with red thread to make it easier for you to see where I stop and start. I usually use neutral color threads when I sew.
3. "flip" the fabric so the right-sides are facing and align the 2 points, as shown below.
 AS YOU DO THIS, be very careful to not pull along that diagonal edge. This is the BIAS edge and you will find that it stretches VERY easily out of shape. You certainly don't want that! Also, I find it easier to pull the center square out, so it looks like a triangle. This helps keep the starting point accurate. I have pulled the blue over so you can see how well-aligned the fabrics are. Start at your marked point at the center intersection and sew toward the pointy end.
See how nice it looks on the right-side. Sew the opposite Y-Seam.

 Now to the other side and check it out. Pretty sweet, huh?
Tips!; When sewing on the bias, let the machine do the work. The thing you pay attention to is keeping the alignment straight and not losing the 1/4" seam allowance, especially as you reach the point at the end of the line. The feed dogs have a tendency to let the fabric shift, so if you use a stilletto as you sew, you will find this to be no problem. I simply use my fingertip.
Everybody has their own ways of pressing (ironing) the seam allowances. I do it however it best minimizes the bulk.
Now that you mastered that column, go finish the other one!
Okay you should now have these 3 "units":

Let's work on the HST (half square triangles) When you originally cut these "A" pieces, I asked you not to cut the diagonal lines. Here is why: Cutting the diagonal leaves you with a lot of bias edges. These are notoriously diffy to sew. Not impossible, but why make it more so than necessary? is my philosophy.
Take the 2 -"A" squares of the same material you used for the "D" AND "E" pieces and set that aside for later (trust me) .............and with the 4 - "A" squares you have remaining, make two sandwiches: one the darker single square and one greenish square and the other sandwich with the lighter blue and second greenish, right-sides facing each other. On the back of the green or lightest fabric, draw a line from corner to corner. I like to press the sandwich with the iron to magnetize the unit. It helps to keep them from shifting. Or pin them.... it's up to you.

Take the first sandwich and sew this unit a 1/4" away from and on both sides of the drawn line. When you cut now on the drawn line you will end up with 2 HSTs! Do the same with the second sandwich.


Take the remaining 2 squares and cut them diagonally in half. Align the triangles up with the remaining "B" pieces. Pin and sew 1/4" seam allowance, end to end, on all four sides. Finger-press to the corner.
You now have all the units you need to sew together.
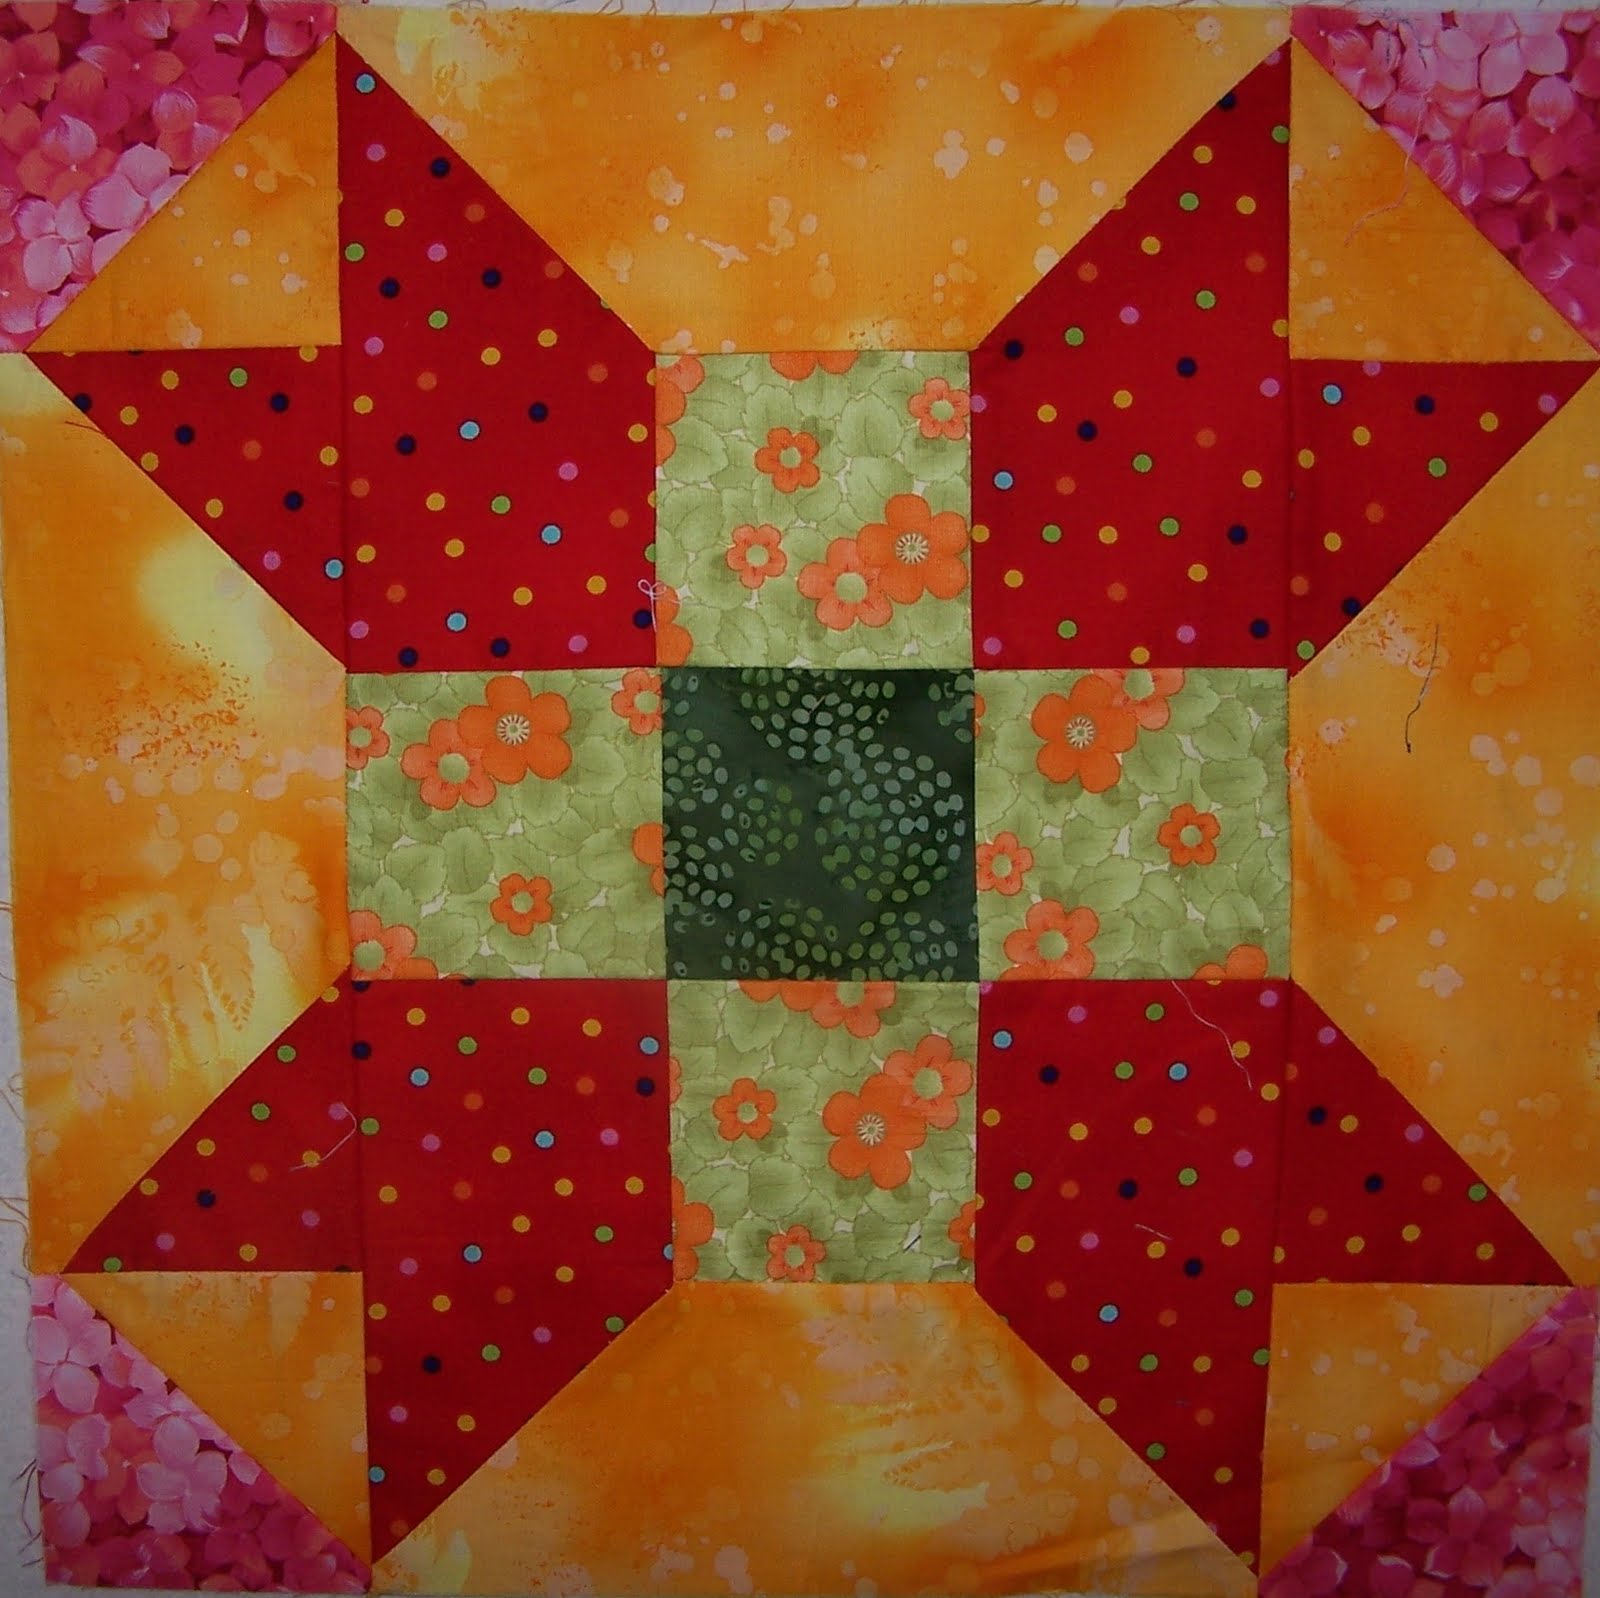
Before you start sewing the units together, take a look how different the blocks appear when I switch the corner units around: The pattern's way:

The other way.
 I think I'll go with that way. Your block should measure 16" square. That means, class? Correct! 15 1/2" FINISHED. From here on out, if I don't remember to mention it, all the blocks should measure this except the Large Center Block.
Now here is a gallery of other color schemes I made for your viewing pleasure


 I
I
Please notice again how it changes with the corners being placed differently.
As you can see, I have made quite a few of these now and I think I have a pretty good handle on Y-seams. You get better with practice. Like just about everything in life.
Now you might be thinking... such a lot of words.... It really isn't. I would be SAYING all this if we were side by side. You might also be thinking.... why is she being so elementary? Well, remember back to the days when all this seemed so foreign to you. There may well in the distant future be people reading this without lots of experience in this type of sewing, bias and 45 degree angles. I am writing this for anyone who wants to sew quilt blocks.
To the Beginner who may read this: hang in there. Try it. It is NOT difficult. My first few were sloppy and I missed the points, or I cut the pieces poorly. It's all in the practice.
I have confidence and that is not something that just shows up to say hello.
Next Block is EASY!!! There is however another challenge involved.
No comments:
Post a Comment